
Ceramic Coating Headers: High-Heat Finish, Prep and What to Send
The headers came off over the weekend, and now they are on your bench telling a story you can read at a glance. Heat stain blooms down the primaries, darker where the tubes crowd together, and the old finish is flaking near the collector and around the flange studs. You already know what you have. What you want to know is what can be done with it. Ceramic coating headers is a high-heat finish service, and it is very different from the ceramic products most people hear about first. Here are the short answers before we get into prep, masking, and what to send.
What Ceramic Coating Headers Actually Means
At its core, ceramic coating headers is the application of a high-heat ceramic finish to exhaust components: a finish formulated to live on metal that gets hot, stays hot, and cycles between the two while the part is in service. It is not paint. It is not a sealant. It is not a film. It is a different category of product entirely, one designed for exhaust rather than for clear coat.
The trouble is the word. Ceramic is one of the most overloaded terms in the automotive world, and three very different products share it. Only one of them belongs on headers, and picking the wrong lane is a common mix-up when someone first searches this phrase. So let us clear the confusion before anything else.
High-Heat Ceramic vs Paint Ceramic and PPF
If you have spent any time around detailing, ceramic probably means a liquid paint coating: a product applied to painted body panels to protect the clear coat underneath. Paint protection film, usually called PPF, sits in the same lane. It is a physical film laid over finished paint. Both are surface protection for bodywork.
Headers are not bodywork. They are exhaust components that run hot enough to make paint-protection products irrelevant to this job. Nothing formulated to sit on clear coat belongs on a primary tube. So if your search started after a detailing conversation, this is where the two paths split: paint ceramic and PPF stay on the panels, and your headers need a finish from the high-heat exhaust lane.
High-Heat Ceramic vs the Wheel and Caliper Ceramic Add-On
Same word, different product, once again. We also offer a ceramic add-on for wheels and calipers, and plenty of people assume it is one service sold under two names. It is not. The wheel and caliper add-on is built for wheel finishes: the faces and barrels that live behind brake dust, road grime, and wash chemicals. Headers require the high-heat exhaust process, and the two are not interchangeable.
If wheels or calipers are what you actually came for, you can read about the ceramic protection for wheels and calipers. If your parts are exhaust parts, stay in this lane.
Here is the quick view of which finish belongs where:
Which Finish Is Which
| Finish | Built for | Typical parts | Role with heat | Not for |
|---|---|---|---|---|
| High-heat header ceramic | Exhaust components | Headers, downpipes, related exhaust parts | Formulated for exhaust heat cycling | Painted body panels |
| Wheel and caliper ceramic add-on | Wheel finishes | Wheels, calipers | Not an exhaust finish | Headers and exhaust parts |
| Powder coating | General metal finishing | Frames, brackets, housings, and other suitable parts | A durable general-purpose finish, and a different tool from high-heat ceramic. The shop confirms which system suits a part and its heat exposure | Not a default stand-in for exhaust headers without a shop review |
Powder and high-heat ceramic are different tools for different jobs, and the dividing line is heat exposure. A bracket or a housing that never sees exhaust heat is often a good candidate for a general finish. A header primary does see that heat, and that is where the exhaust-specific process earns its place. When a part sits near the line, the shop confirms which system fits before anything is scheduled.
Which Headers Are Good Candidates
Whether a set is a good candidate comes down to condition and completeness: what the metal looks like, what the old finish is doing, and whether everything that should be there still is. It does not come down to brand or vehicle model. We care far less about what car the headers came off than about what they look like on the bench.
Sets That Coat Well
The straightforward candidates are clean, complete sets with hardware in reasonable shape. If the set was pulled with care and the threads and flanges survived removal intact, there is less corrective work to do in prep, and less corrective work is always better for everyone involved.
Completeness matters as much as condition, and it matters in a way people do not always expect. A set that arrives with all of its flanges, ports, and hardware bagged and labeled is easier to plan than one that arrives missing pieces, because we can see every surface that needs attention and every surface that needs protection. When a piece is missing, we cannot see what it connects to, what it seals against, or how it needs to be treated, and the plan has to account for that unknown instead of the actual part.
If you still have the original hardware, bring it or keep it with the set. Hardware shows thread condition, and that helps the shop plan the fastener side of the job. If sensors came out of the bungs, note where they were so those locations can stay usable when the parts go back together.
When Prep Has to Do More Work
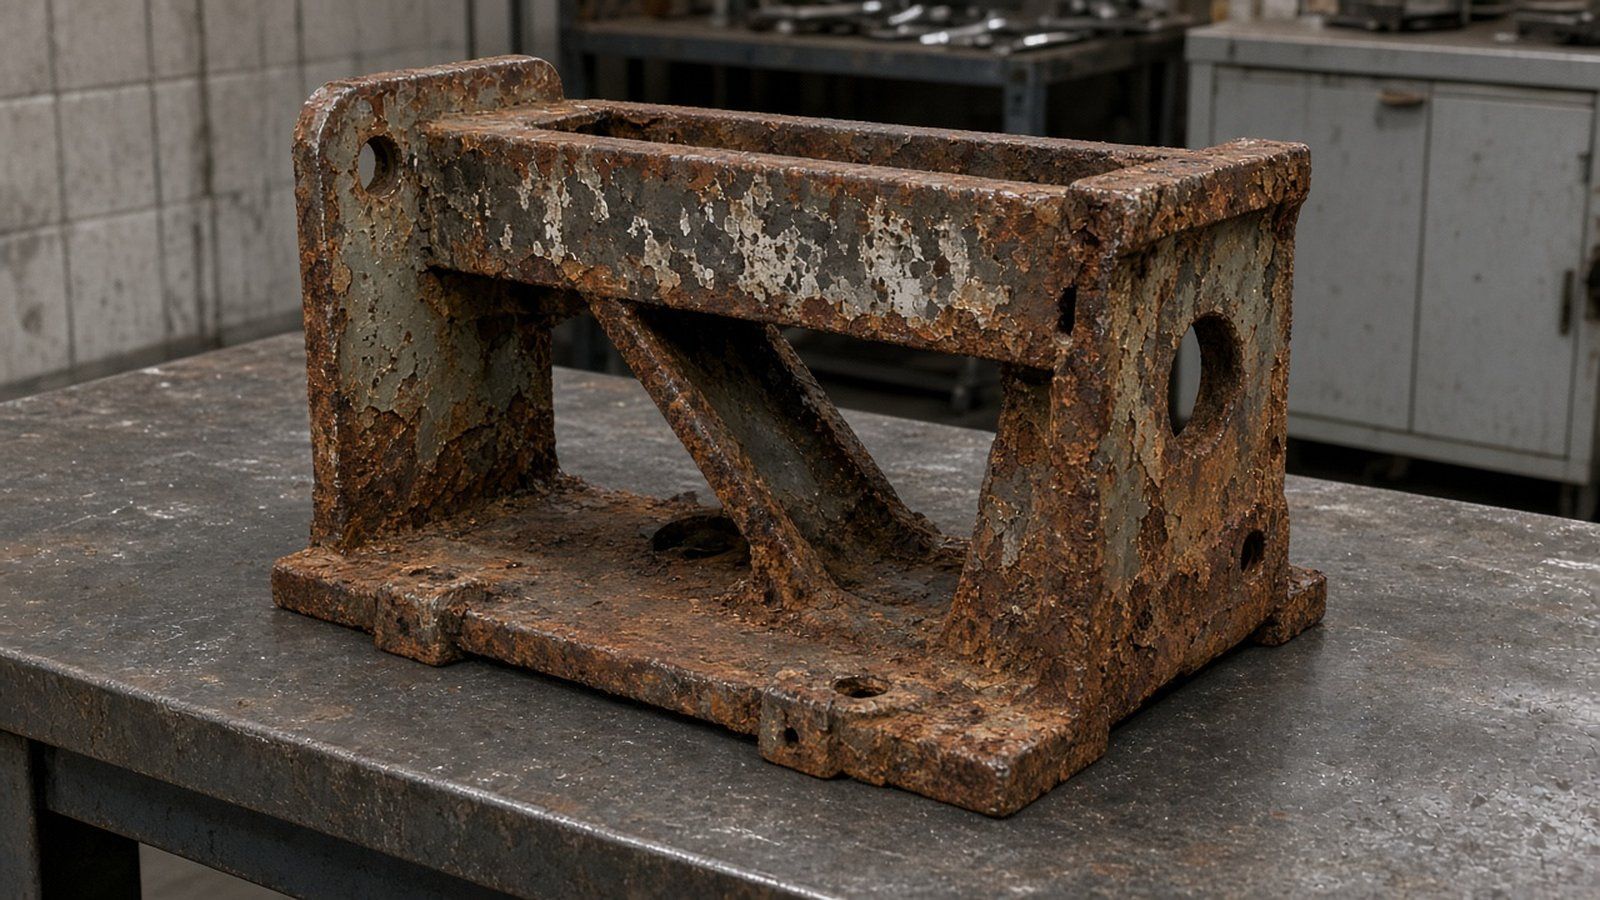
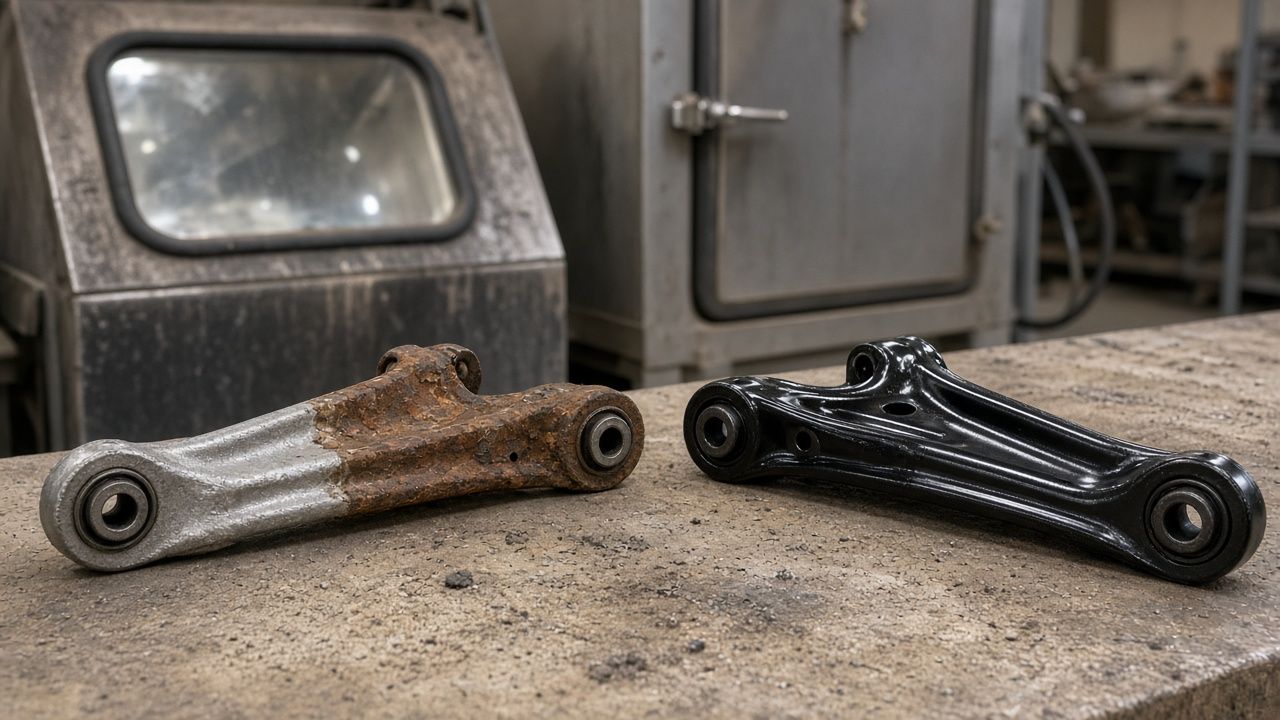
Plenty of ceramic coated headers arrive at our shop precisely because the previous finish failed. Surface rust, flaking coating, and heat scale are common reasons headers come in, not automatic disqualifiers. Often the metal underneath is in workable shape and the surface just needs to be taken back to clean before anything new goes on. Sometimes corrosion or past repairs run deeper, and that is exactly why an inspection happens before a plan is made. Either way, the honest version is this: more prep is normal, it is quotable, and it is far better to know going in than to be surprised by it.
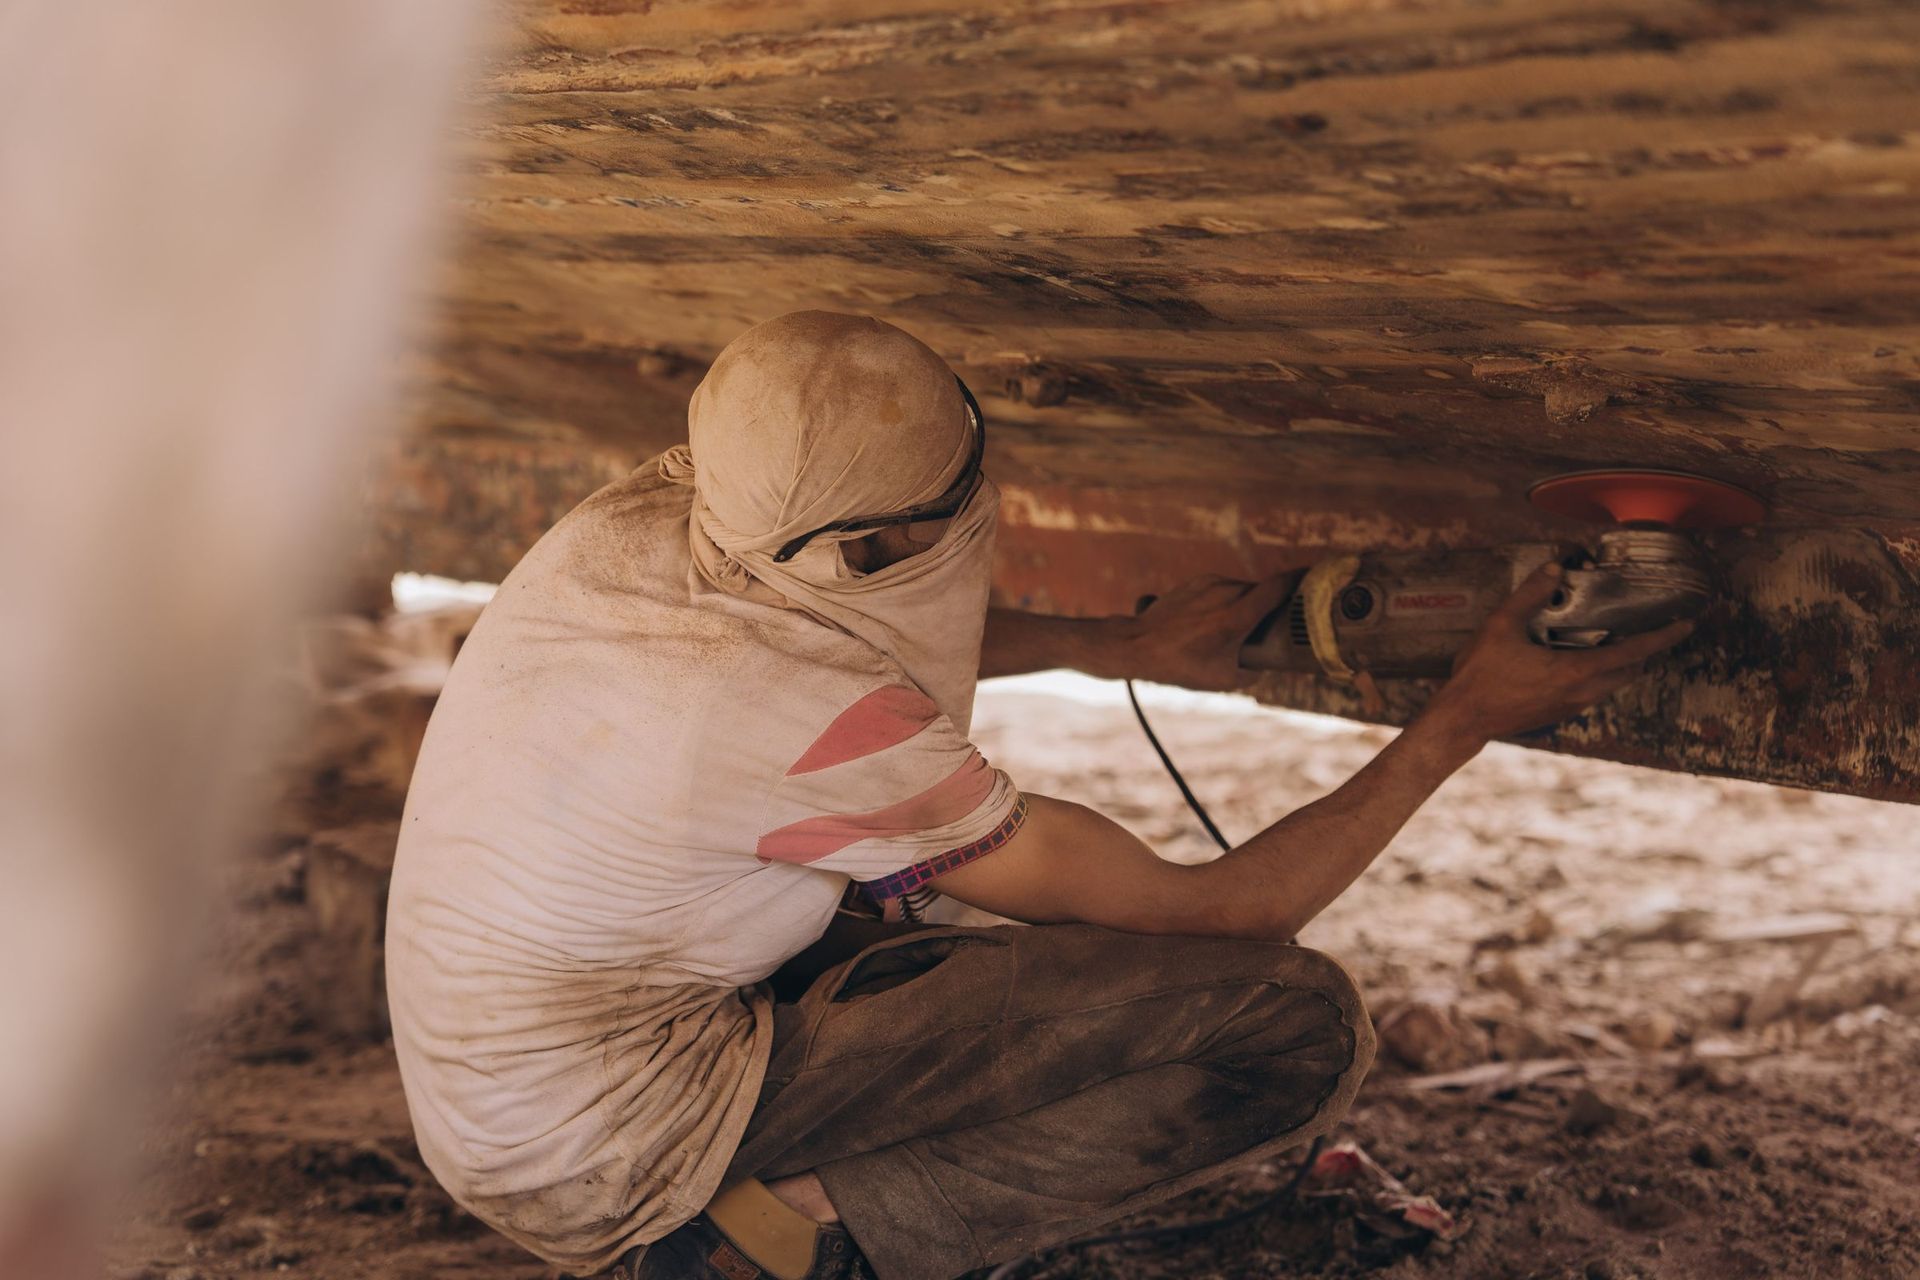
That is what surface restoration is for. Heavier corrosion, flaking old coatings, or scale means sandblasting and surface restoration has to do more work before any finish can go on, and that is normal work for us. The goal of that stage is simple and it is the same on every set: get down to clean, sound metal so the new finish has a uniform surface to bond to. A finish applied over flaking residue or loose scale is being asked to hold onto material that is already letting go, and no finish can do that well for long.
Photos taken before drop-off help the shop gauge how much of that prep is likely, which is why the next section focuses on what to capture.
Parts That Often Arrive With a Header Job
Header jobs rarely travel alone. Related exhaust parts often come in the same batch: manifolds, downpipes, housings, and tips are the usual companions, and a header ceramic coating job is often quoted with those pieces in mind. If you are already pulling the set and other exhaust pieces are accessible, it is worth mentioning them when you reach out, since finishing them in the same project often makes sense. Mixed batches are planned as one job, and one plan is easier on everyone than two.
Prep and Masking: Ports, Flanges, Threads and Sensors
The question behind almost every prep conversation is the same: will you coat over the stuff that matters? No. That is the point of the prep.
Before any finish goes on, the areas that have to work on reinstallation get protected. Port openings stay clean so they mate with the head. Flange faces stay bare and flat so gaskets seal. Threads stay usable so hardware goes in without a fight. Sensor bungs and sensor locations stay clear so sensors thread back in and do their job.
Masking matters for practical reasons, not cosmetic ones, and it helps to understand why each protected area is protected. A flange face needs to present flat metal to a gasket, and gaskets seal against machined surfaces, not against finish. Even a thin coating on a flange face changes the stack of tolerances the gasket was designed around, and exhaust leaks trace back to sealing surfaces more often than anywhere else. Threads are even less forgiving. Coating in a thread changes its effective dimensions, and hardware forced through a coated thread can bind, cross-thread, or drag debris into a fastener you will want to remove again someday. Sensor locations carry the same logic: the bung has to stay clean and usable so the sensor can thread back in and do its job.
So every surface that seals, bolts, or threads gets treated as a working surface first and a finishable surface never. The finish goes where it belongs, and nothing goes where it would cause problems on reinstallation. Exactly how we mask and prep your specific set gets confirmed when we see the parts, because every header design lays out its ports, bungs, and fasteners a little differently, but the principle does not change from set to set.
What the Shop Needs to Know
Photos do most of the work at the estimate stage, and good photos are worth more than long descriptions. Here is what helps:
- Full-set shots from a couple of angles, so we can see the whole set as it sits.
- Close-ups of the worst flaking, rust, or scaling, so we can gauge prep.
- Clear shots of the flanges and ports, so we can see the mating surfaces and what will need masking.
- Anything you are unsure about, captured anyway. Strange bungs, previous repairs, hardware that looks questionable: better in a photo than as a surprise.
And tell us the material condition honestly, either in the message or on the call. If the finish has been flaking for two years, say so. If the set sat outside a season, say that. None of it shocks us, and all of it changes the prep conversation in useful ways. Worn is quotable; mystery is not.
How a Quote Gets Built
Quotes for this work are built from two things: condition and completeness. Condition drives prep. A set with light surface discoloration needs less corrective work than a set with heavy scale and flaking old coating, and the difference shows up in the prep stage of the plan. Completeness drives everything else. A set with all flanges, ports, hardware, and known sensor locations can be planned surface by surface. A set with missing pieces or unknown history has to be planned around what cannot be seen, and that is a different conversation.
This is also why we do not quote over a brand name or a vehicle model. Two sets off the same kind of car can sit on opposite ends of the condition spectrum, and the quote follows the bench, not the badge.
Drop-Off Planning
If a drop-off works for you, we are at 14000 Rosecrans Ave, Santa Fe Springs, CA 90670. Hours are Monday through Friday, 6:00 AM to 7:00 PM, and Saturday, 6:00 AM to 4:00 PM. We are closed Sunday. We work with drivers and builders across Los Angeles and Orange County, and you can find more on our service areas page.
Header and exhaust work is planned after we have seen the parts, so we do not quote timing before an inspection. Photos sent ahead of a drop-off make the counter conversation shorter.
What the Finish Does and Does Not Do
Expectation setting, honestly delivered, is half the value of this service. Here is what a high-heat ceramic finish on headers does, and what it does not.
Heat Cycling and Color Shift
High-heat finishes live on parts that cycle through heat over and over, and appearance can shift as they do. The tone you see at pickup may settle and change as the exhaust goes through its heat cycles. That is a normal characteristic of finishes living on exhaust components, not a defect. Any finish asked to live on a header will interact with the heat it lives in.
It helps to know what the cycle actually looks like. The first drives after reinstall are when the finish sees its earliest heat exposure, and early cycles are when appearance tends to move the most. Over time, repeated cycles tend to settle the tone toward wherever it is going to live, and different areas of the set can shift differently, since tubes near the collector usually run hotter than tubes at the flange end. If you have seen headers with a graduated look down the primaries, that is heat cycling written on the finish, and it is normal behavior for the environment, not a sign that something went wrong.
Corrosion Limits
The finish helps against corrosion, but it is not an invulnerable barrier. Headers live a hard life: heat, moisture, and whatever the road throws at them. A high-heat ceramic finish is part of the defense, not an exemption from the environment. Treated well, it does its job for a long time; treated as armor, it will eventually show you it is a finish.
Chips and Wrenching
Impacts, chips, and heavy wrenching can mark the finish, and most of that risk lands during installation and removal. This pairs with the prep section: we protect the mating surfaces in the shop, and you protect the finish during reinstall. Careful handling is not fussy; it is just the second half of the job.
Wraps
Header wraps are their own conversation, and you may be weighing them. We are not here to push you toward or away from wraps; just know that a wrap and a ceramic finish are different approaches, and the choice belongs to you.
Care After Pickup
How the set is handled between our counter and your engine bay does more for the finish than anything that happens after the bolts are torqued. A few good habits protect both the finish and the mating surfaces:
- Handle the set by the flanges where you can, and support it fully rather than letting it hang or rest on a tube edge. Flanges are the strongest, most finish-tolerant place to grip, and a set supported across its flanges cannot lever its own weight against a coated tube.
- Reinstall with care: no prying against a tube to persuade a flange into place, and no dropped tools. A pry bar against a primary is a common way a fresh finish gets marked, often in a very visible spot.
- Use sensible torque practices on the fasteners. If your setup calls for a specific torque value, follow it rather than guessing by feel. Over-torquing stresses both the flange and the finish at its edges, and under-torquing invites the leak you were trying to prevent.
- Keep impacts and abrasion to a minimum around the coated surfaces during the rest of the build. Headers usually go in before other work finishes around them, so a shop towel draped over the set during neighboring jobs is cheap insurance.
One more reinstall note worth making: the threads and bungs were masked for a reason, so keep them clean on the way in. A bolt dragged through bench debris carries that debris into a thread that was left bare precisely so it would work perfectly.
Getting a Quote on Your Headers
If your set is on the bench and you are ready to talk about it, starting is simple. Send photos through our request a free quote form. You can also call (714) 686-2306 during shop hours, or bring the set to 14000 Rosecrans Ave, Santa Fe Springs, CA 90670 during posted hours: Monday through Friday, 6:00 AM to 7:00 PM, and Saturday, 6:00 AM to 4:00 PM. We are closed Sunday.
Full-set shots, close-ups of the worst areas, flanges and ports. From there we can tell you whether your set is a candidate, what prep it will need, and how to get it to us.
Recent Posts